|
The following is a work in progress...more of a diary
and some ranting about the progress that is going on with the truck. As
winter approaches I will clean up this page.
|
|
|
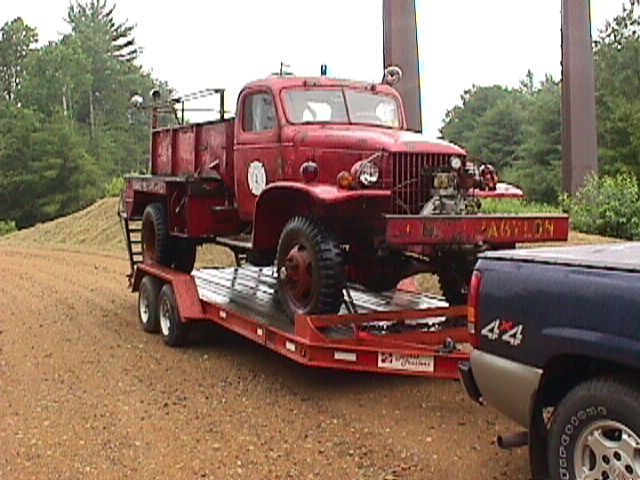
A more Detailed inspection of the truck
reveals that it is better and worse shape that what I had led myself to
believe. The body has only 1 real area of rust
through and that is in the right side front cabinet. A Cabinet that was
added later to house some equipment. I believe that when this cabinet was
installed the left booster was moved to the top of the hose bed. |
|
Good Points
It does not leak. I have placed this truck
on my shop driveway and it does not leak a drip even after 60 years. Can't
say the same for my 97 F-150.
Panels are very straight and will require
sand blasting and only minor straightening.
Shifts good, good tires,....
Low Points
Found the exhaust manifold to exhaust pipe
stud broken and the gasket missing. This would account for the loud noise
when starting and running. It also has no muffler and a homemade pipe
setup. These are old items from the look of it 10 plus years.
The inlet hose to the pump from the tank is
rusted and broken free from the tank. This could be a problem. Will have
to analyze when I remove the tank for deck replacement.
NO BRAKES!...I knew this but ouch...Get out
of my way. First Gear and wheel chalks. Estimate of repairs $900. Rebuilt
wheel cylinders and Master. This will be the big expense and was
anticipated.
Needs all new wood decking and super
structure. It is Oak...this could cost. |
|
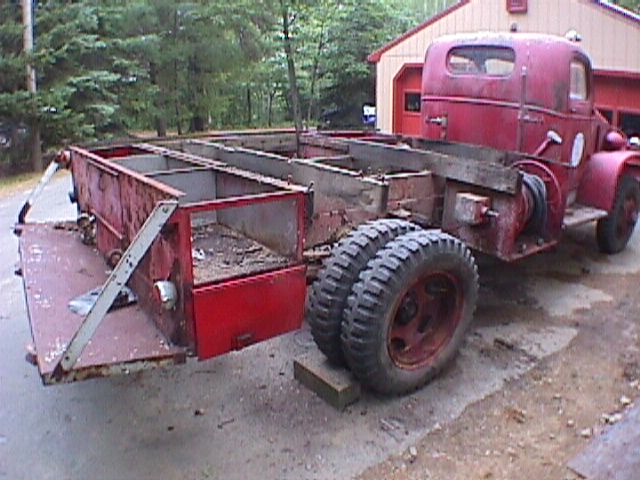
On July 19 Restoration has begun....
We are off and running. The first thing we
will do is to fix the exhaust leak. Can't have PO'ed neighbors.
While I examine the exhaust my son is busy
removing the diamond plate beside the tank and over the deck. I plan on
removing the tank to replace the decking. While the decking is off I will
Sand blast the entire frame and repaint in OD.
Most of the Diamond Plate comes off easily
as the wood is rotten and the screws and bolts pull right out.
|
|
|
7/21/2003 We have now gotten into the engine and
found that both exhaust manifold studs to down pipe are snapped off. Also
found the exhaust manifold cracked at Cylinder #3. A big chunk is missing.
This will require removal and replacement of the exhaust manifold. The
intake is part of it so it comes out as a unit. Inspection reveals the
manifold is not salvageable. Need a new one. Junk yard hunting or
NOS. $$$$
Used my cut off tool to remove the rusty
bolts holding down the tank. The piping came off easily as there were many
unions and thus no cutting. I moved the truck to another part of the yard
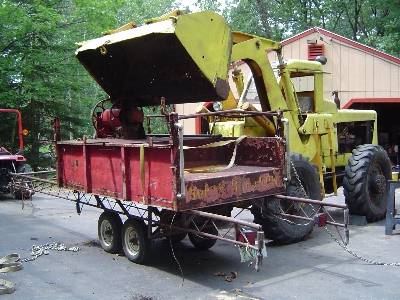
and lifted off the tank with my Hough HH loader. What a breeze.
I have determined what we need for exhaust
piping and will have to have that custom bent. Check out what the FD who
owned it put in for a exhaust pipe. Restricted exhaust...This baby should
hump with a free flowing exhaust. |
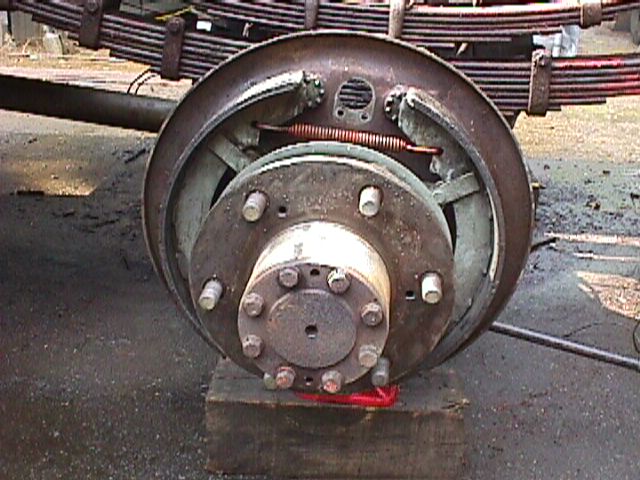
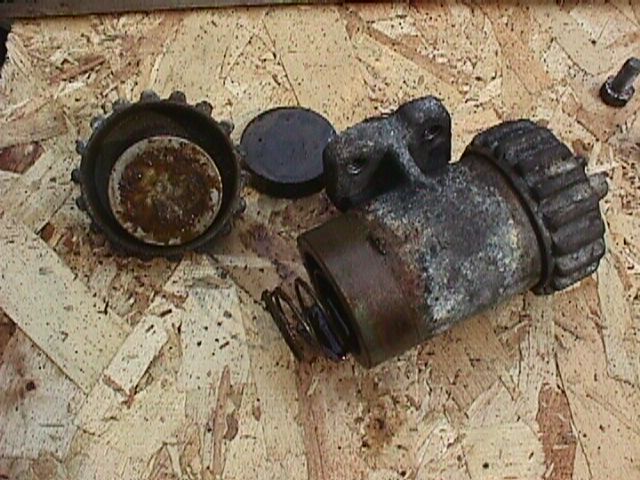
| July 24, 2003 Started on the brakes
today. What a mess. The fluid has crystallized within the wheel cylinders.
I am removing them to send them out and have them rebuilt. |
|
| July 26, 2003
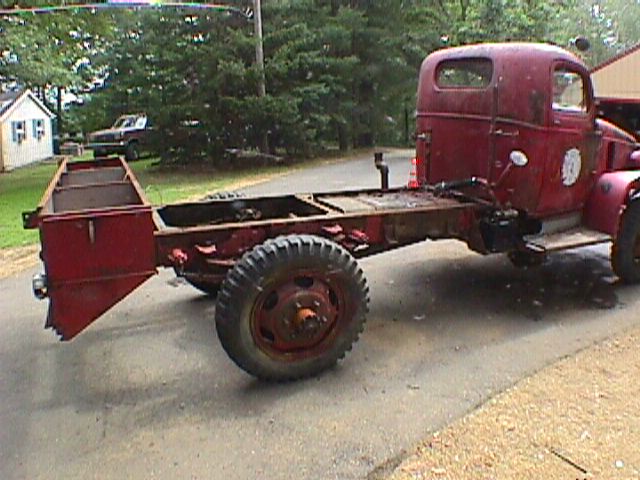
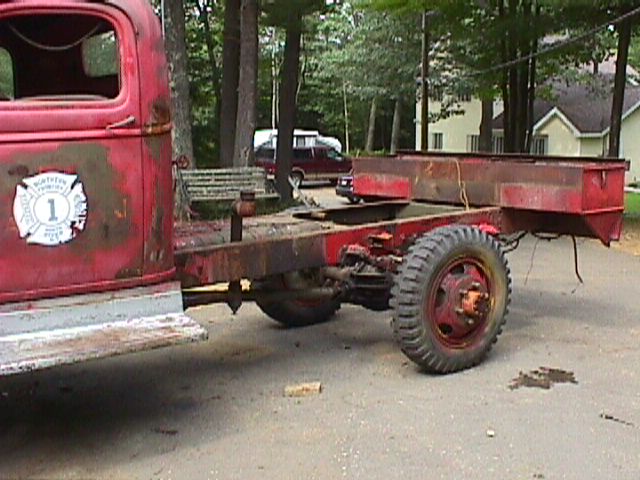
Removed the rear step. The bent body came back into line a little. Still
there will have to be some pulling. Sent out the brakes to White Post
Restorations (www.whitepost.com) to have all the wheel cylinders rebuilt,
the master rebuilt, and the rear brake shoes relined. When spending all
this time and money on an irreplaceable truck I don't want the brakes to
fade and clobber someone. They should be back in 10 Days. Having a huge problem finding a exhaust manifold. For all the G506
trucks that were built I can't believe that there are not any good used
manifolds out there. I can get a NOS manifold but I really do not want to
spend the extra money that new will cost. Got Lucky...Got a perfect used
manifold on the extra used 235 engine that came with the purchase of the
125
Went to the Merrimack Valley Military Vehicle Collectors (MVMVC)
annual show over the weekend. Acquired NOS Rear original Brake lights with
black out lights. From the holes in the body these were what originally
came with it. I hope they can go through NH safety inspection. Also
purchased a second budd wrench for the other pumper. And switches and
knobs to fix this truck back to original. Also bought a Original Military
manual for the 125.
Contacted Vintage Wiring of Maine by email about whether harnesses are
available and cost. Quote $650+ for new harness for G506. That will have
to wait.
Pulling the rear compartments back into shape is next...stay tuned. |
|
|
August 16, 2003 Nine
inches of rain in the last 10 days has put a damper on working on the
truck. In the rain I was able to "Zep" the frame and pressure
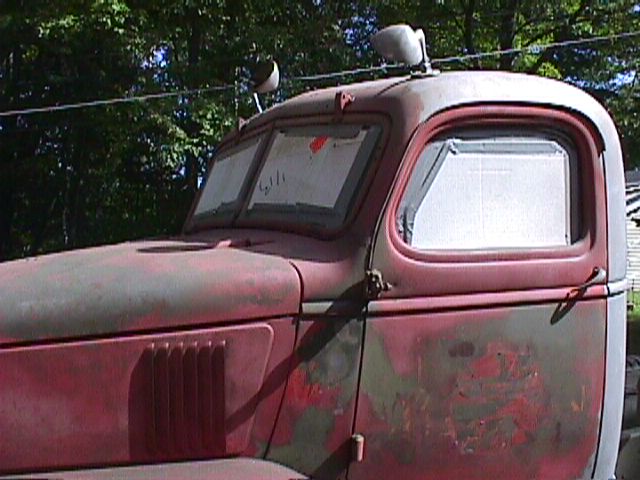
wash of much of the caked on grease. While washing the cab I found that
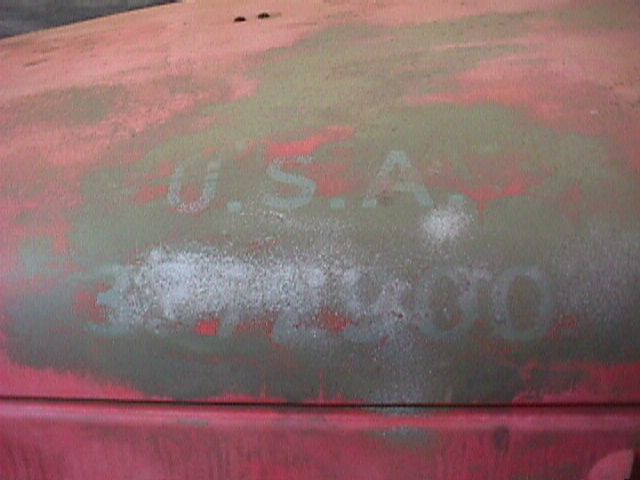
the pressure washer was able to take off some of the paint. I continued on
to the hood and began to expose some of the original blue registration
numbers. There are 2 sets painted one over the other. I did find a
beginning number of "5" and I know all Fire Trucks start with 5.
I will follow this up.
I
finally got around to removing the rear bed lumber and cabinets. The left
cab and right booster line are attached to the oak cross pieces. The rear
cabinets sit directly on the frame and are held in by the rear tow hooks
(I am not removing the hooks so the cabinets will stay on and be sand
blasted on.
The vacuum wiper motors have been removed and sent to the wiperman.com
to be rebuilt. New manifold has been installed and I am in the process of
having a custom front pipe manufacturer for the exhaust system. Brakes are
back from White Post but will not be installed until after sand blasting.
Sand blasting will commence soon.
|
| August 27, 2003
Brakes are back from White Post a 10 day turn around over 2
weekends...very good service and the wiper motors came back from
wiperman.com a 7 day total turn around. Excellent service and the even put
stuff on that did not go down with them. They will stay in the box until
the painting/blasting is done. |
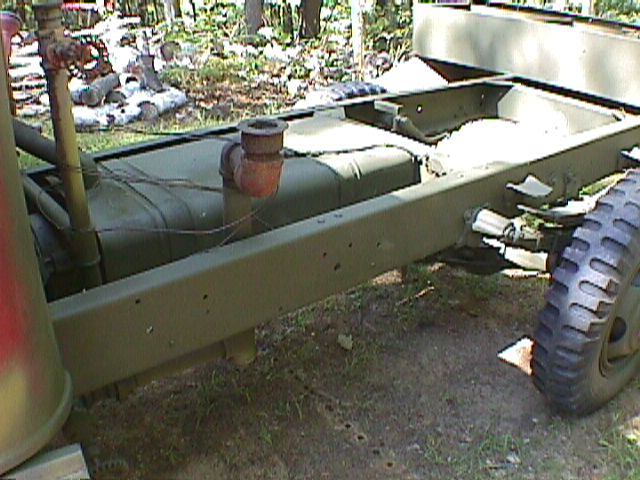
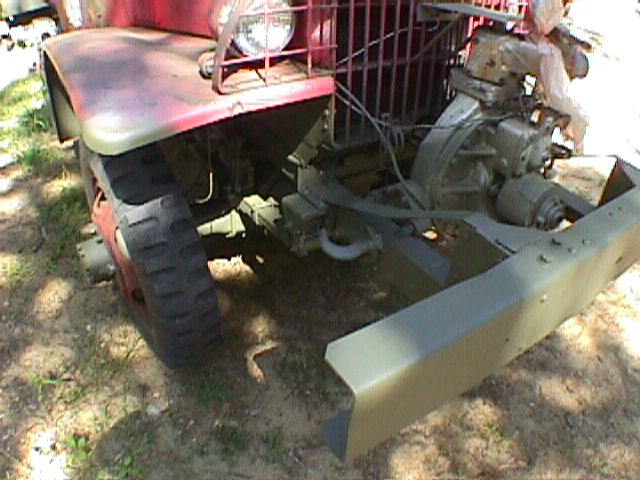
| September 9, 2003 Sand
blasting of the frame has been completed. This required removal of all
wheels and putting the truck up on Jack stands. First I completely
pressure washed the truck with Zep Orange cleaner. It did a nice job of
cleaning off all the grease. I put down a couple of blue poly tarps on the
floor of my make shift blast house. I then sand blasted the body using
"Black Beauty". I went through 10 50 pound bags of BB. I
recycled what I could pick up off the floor. In all just, sand blasting,
the frame I went through about 500 pounds of material. What a dirty messy
job.
Next came the frame painting with the paint POR. This "Paint Over
Rust" primer is suppose to clemicallly bond with any rust and
eliminate it's spread. While expensive I figured that it would be worth
the effort to only paint this baby once. The POR mixed as directed went on
smoothly, lets hope it works.
Five Days later I painted the POR with an etching primer and then let
that dry. I then sanded some of the rough spots (and any runs). 3 Days
later it was a coat of Gillespee Lusterless Olive Drab. Mixed according to
the directions on Bob Muller's "Vehicles
of Victory" website resulted in a very nice finish and excellent
coverage. It is actually pretty easy to paint a military
vehicle...everything is OD...so you don't have to stop at lines or
panels...you just paint every thing. I now must begin sand blasting and
sanding the cab, water tank, and compartments. The tank and compartments
will get POR the cab will not. |
|
|
|
October 1, 2003 Finally
getting some beautiful fall weather. I have been spending the last 3 weeks
masking and waiting for the right weather to be able to sand blast and
prime without dampness and before it gets too cold to paint in my tent
(spray booth).
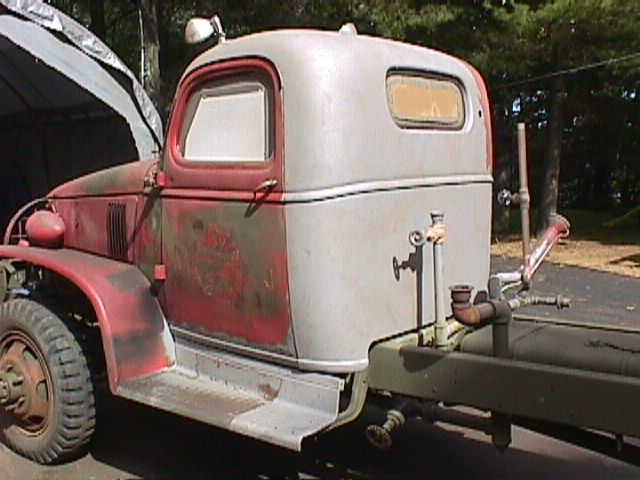
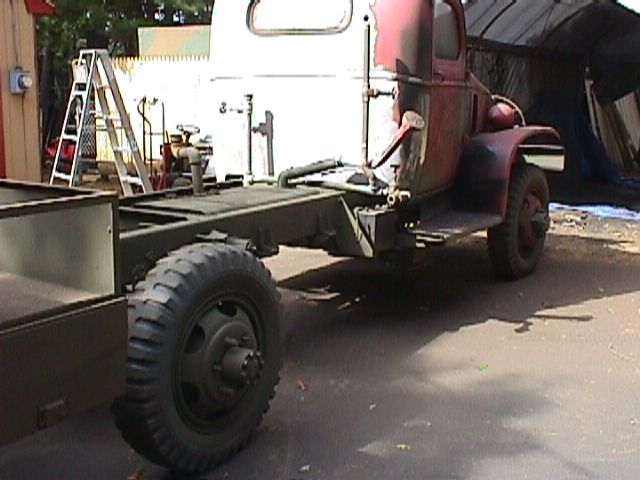
I have sand blasted the entire cab inside and out. What a diry messy
job. I recycle the slag blast media about 5 times before it becomes too
smooth and too full of dirt and paint to do a good job. |
|
|
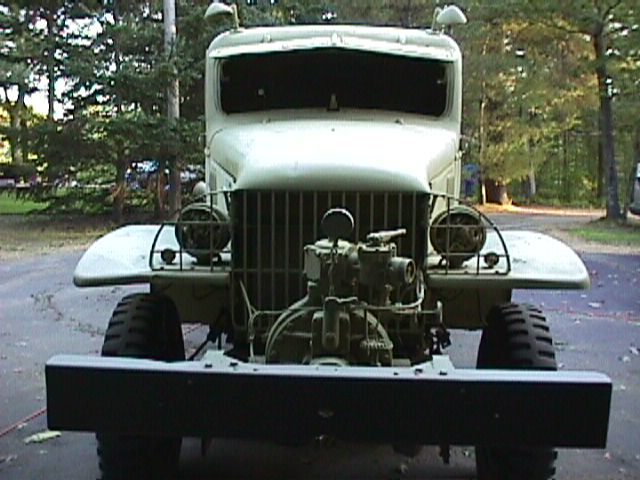
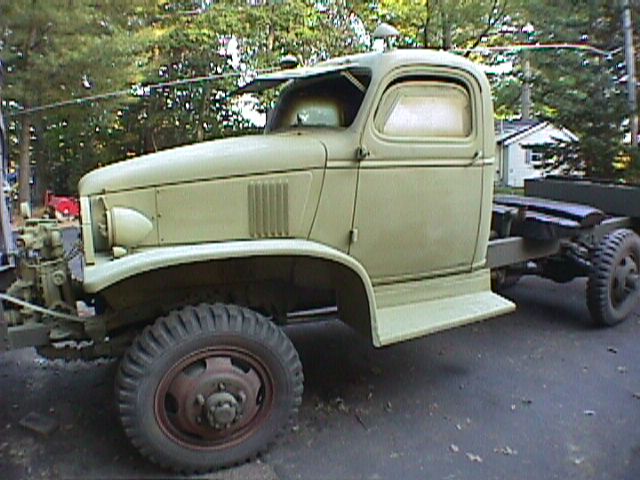
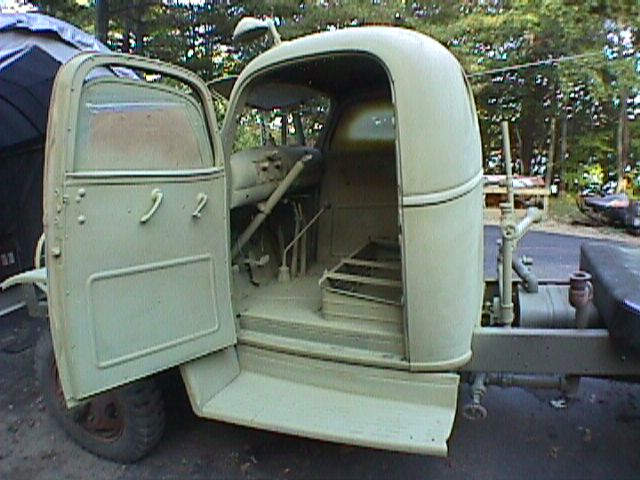
| October 2, 2003 The next
day I primed with etching primer. Came out great. Now I need 2 more good
warm days before winter to put the first coat of OD on. |
|
|
|
|
|
|
|
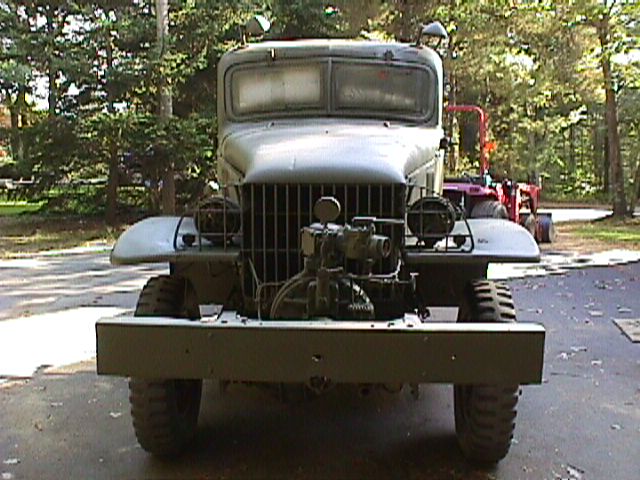
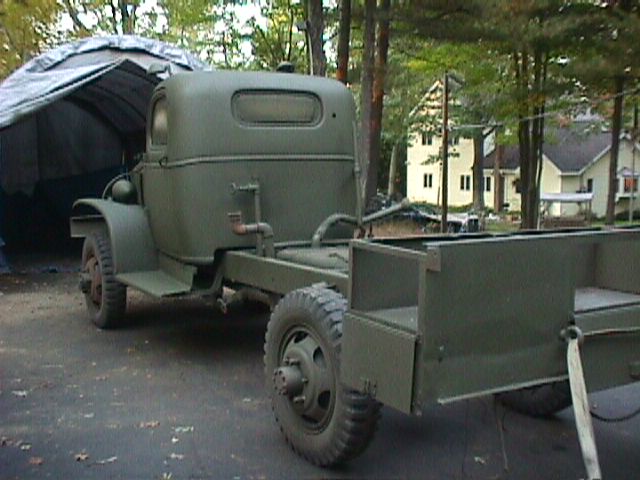
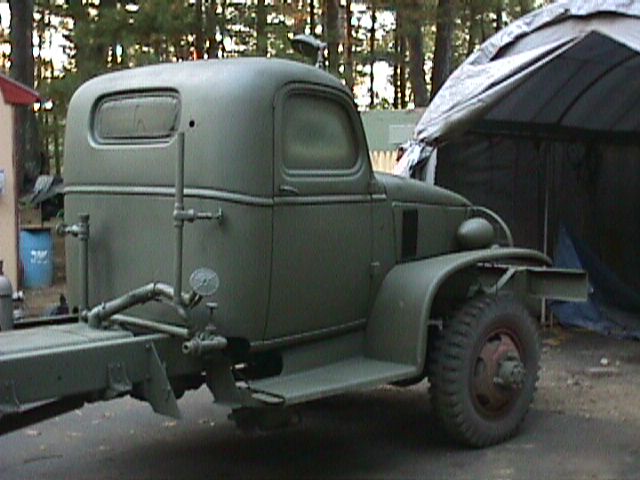
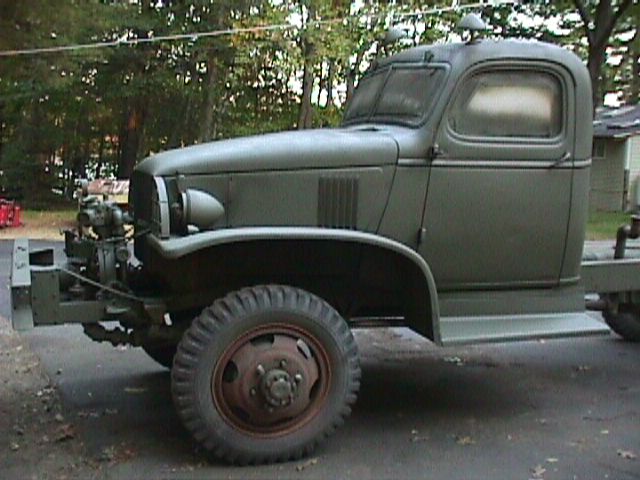
October 8, 2003 A glorious
October Day. The first coat of Gillespee OD paint has been applied. Went
on great...only a few minor problems. This will probably end the painting
for this year. Except for maybe the rear step which is done at the
fabricators and is primed. |
|
|
|
|
|
|
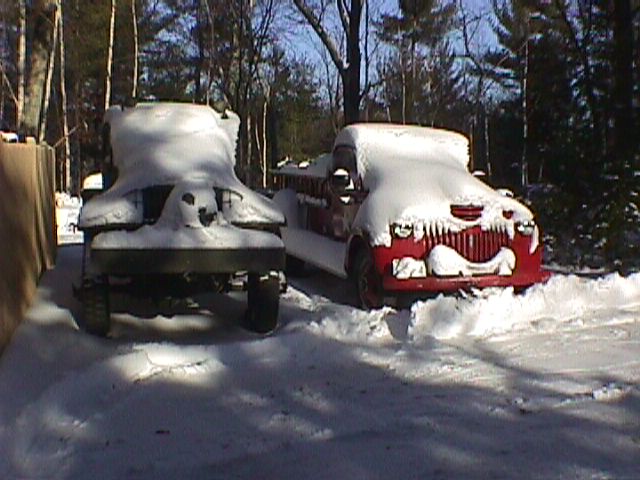
| December 20, 2003 Little
has been done on the trucks in the last 45 plus days. Busy getting the
house ready for Winter. I keep picking up pieces on ebay to stock the
truck after the paint is done. Indian cans, Fire Extinguishers, Axes,
hose, trinkets.....you know...guy stuff. I have ordered up a 2 car
garage shelter to keep them covered in the winter. The 6 week wait has
been a little longer as you can see by the photo on the right. |
|
| April 17, 2004 It has been
warm enough to start back up with mechanical work with the truck. I have
decided to convert this truck to 12 Volt for reliability and my ease of
use. Conversion is simple enough. I purchased a '60s chevy 65 amp
alternator and have installed it in place of the generator. I had to have
a pulley custom made to the correct offset to get to the belt. The
alternator top bracket is a curved piece from a 1980's Saab. New Battery
Cables and some resistors, and a 12 volt coil and we are in business. It
now cranks fast and starts immediately. Runs poorly. Must be a clogged
passage in the carb from varnished gas. I did not get a chance to put
stabilizer in this last fall as I could not get it to start under the 6
volt system. (Note: For the past 4 years I put stabilizer in every gas
powered rig I have if I don't move through the contents of the whole tank
in 30 days. It has saved me endless amounts of time of not having to clean
carbs). Also noticed that this rig does not have the original carb on it.
Some Rochester job with no tags. I don't know whether to buy a rebuilt
original carb or fool with rebuilding this one.
Picked up a ton of of Fire related equipment and about 4000 feet of
hose from an individual. Now I will have what I need to
"accessorize" the truck when done. |
| |
| August 1, 2004 With Weare
Rally now history I can get back to working on the 325 which is next in
line. The truck now runs poorly and I have been working on the motor to
get it to idle . It is too hot to sand blast but I have done a little body
work on the roof of the cab where the previous Siren Light was mounted
with about 40 small bolts holding down an aluminum backing plate. What a
mess. |
| August 2, 2004 Found that
the Fire Tank is rusted beyond use as a Fire Tank. It is not feisable to
make repairs to the tank as there is just too many rust holes to make it
water tight. I have contracted with a local welder to have him build a
custom tank to place inside the original tank. While this will not hold as
much water it will use the original inlet to add water. This will help the
truck keeps it's original look and still be able to carry water. |
|
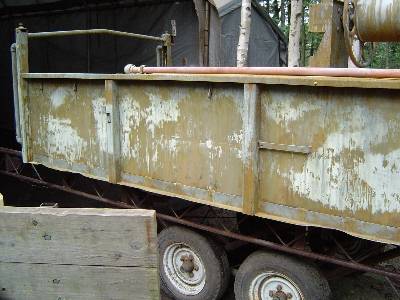
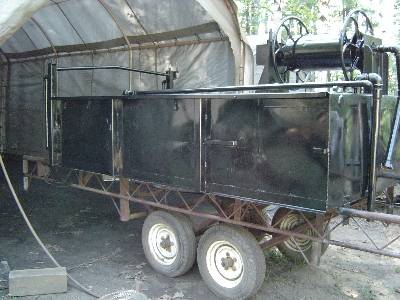
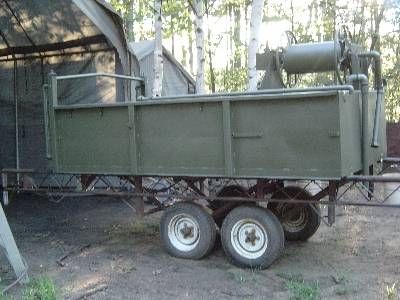
| August 27, 2004 I have
spent the week sandblasting, Priming, and painting with OD the Fire Body. |
|
|
|
|
Sand Blasted and pre-treated before POR-15 |
POR-15 |
|
|
|
|
Olive Drab 1st coat |
|
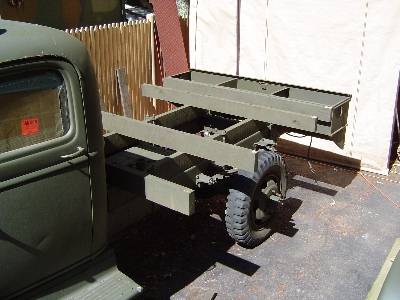
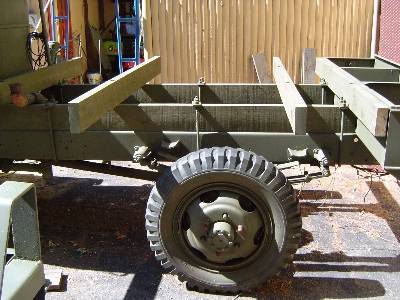
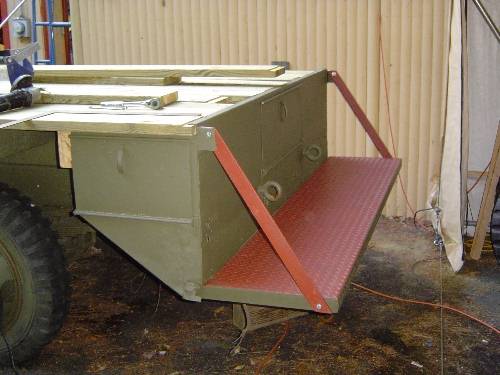
| September 14, 2004 Over the
weekend I installed the replacement Oak support rails for the Fire Tank.
Went on just like the Originals. Also installed was the newly fabricated
rear step. |
|
 |
|
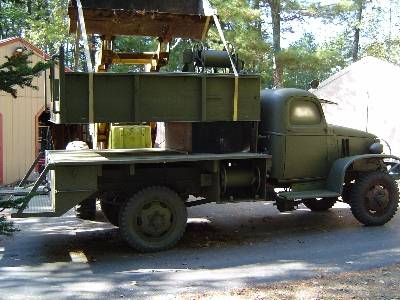
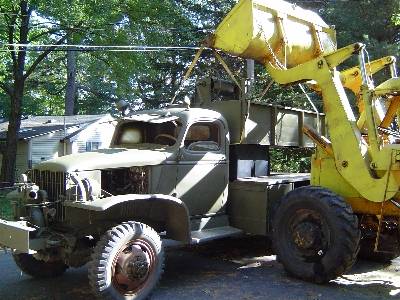
| October 4, 2004 Used the Hough
loader and with my son's help I was able to get the new Water tank
installed inside the old tank and all bolted down to the the decking on
the body. |
|
|
 |
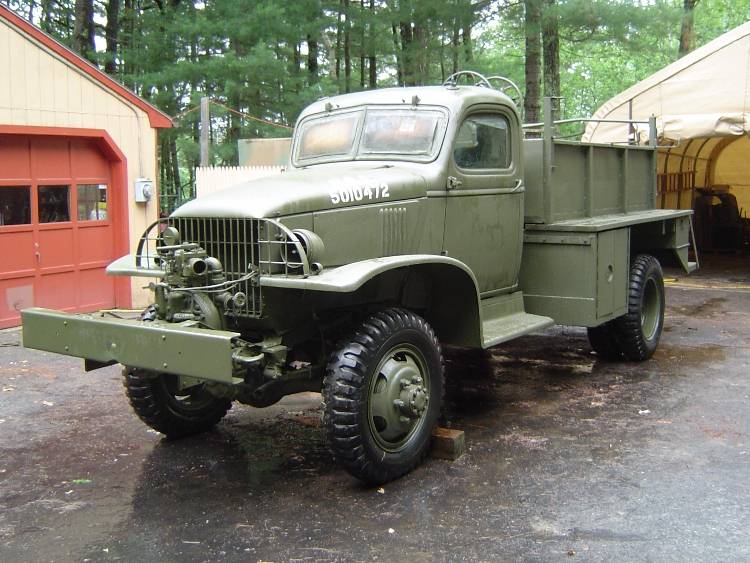
| July 9, 2005 Coming up on 2 years
and we are almost done. The painting of OD is done. Began replacing the
broken glass today. Installed the repainted windshield from 325 #2 and the
new passenger side glass that came with the truck. The new wheels and
tires which were painted a month ago finally got put on. It is beginning
to look like a really Army truck now and not some "jitterbug".
Problems have cropped up with the engine...Apparently it was not as good
as was advertised. Compression on all cylinders is 140 psi except for #2
which is 75 psi. This is leading to a poor idle and a bog when stepping on
the Accelerator. The head may have to come off due to a burned
valve. I will be doing some paint mask stencils the next time it does not
rain. |
|
|
| |
| |